In November 2022 the Drupal community and the Drupal Security Team will end their support for Drupal 7. By that time, all Drupal websites will need to be on Drupal 8 to continue receiving updates and security fixes from the community. The jump from Drupal 7 to 8 is a tricky migration, often requiring complex data transformations to fit legacy content into Drupal’s new paradigm. If you are new to Drupal migrations, you can read the official Drupal Migrate API, follow Mauricio Dinarte’s 31 Days of Drupal Migrations starter series, or watch Redfin Solutions’ own Chris Wells give a crash course training session. This blog series will cover more advanced topics such as niche migration tools, content restructuring, and various custom code solutions.
There’s a certain leniency afforded to migrating content from an old Drupal 7 website to its new Drupal 8 rebuild. Preserving old content with all its outliers can be complicated and tedious. However, it is typically run only once in production then augmented and completed. Take notes for future migrations and move on. This leniency is not available for ongoing migrations that need to be run routinely to keep a website’s content up to date. This can be anything from a website's directory to up-to-the-minute news and events data where the data comes from outside the website and requires a custom migration. Here the code needs to work consistently and report errors gracefully.
To run these migrations on cron, there are a few different options. The easiest is to use a module like Migrate Cron Scheduler or Migrate Cron. Both of these allow you to quickly pick a custom migration to run on cron and choose its frequency. Migrate Cron Scheduler, however, allows the user to configure the “update” and “sync” flags on the migration import.
The "update" flag will update all previously imported entities. The "sync" flag will also remove any previously imported entities that are no longer in the source database, so that the source and destination are synchronized.
These modules also let you choose a migration group, so that the migration import will automatically respect migration dependencies. The downside is that any custom code that needs to be run in conjunction with the migration will have to be split into a different cron job, and there is no setting on these modules to run the migration at a certain time of day or at an irregular frequency.
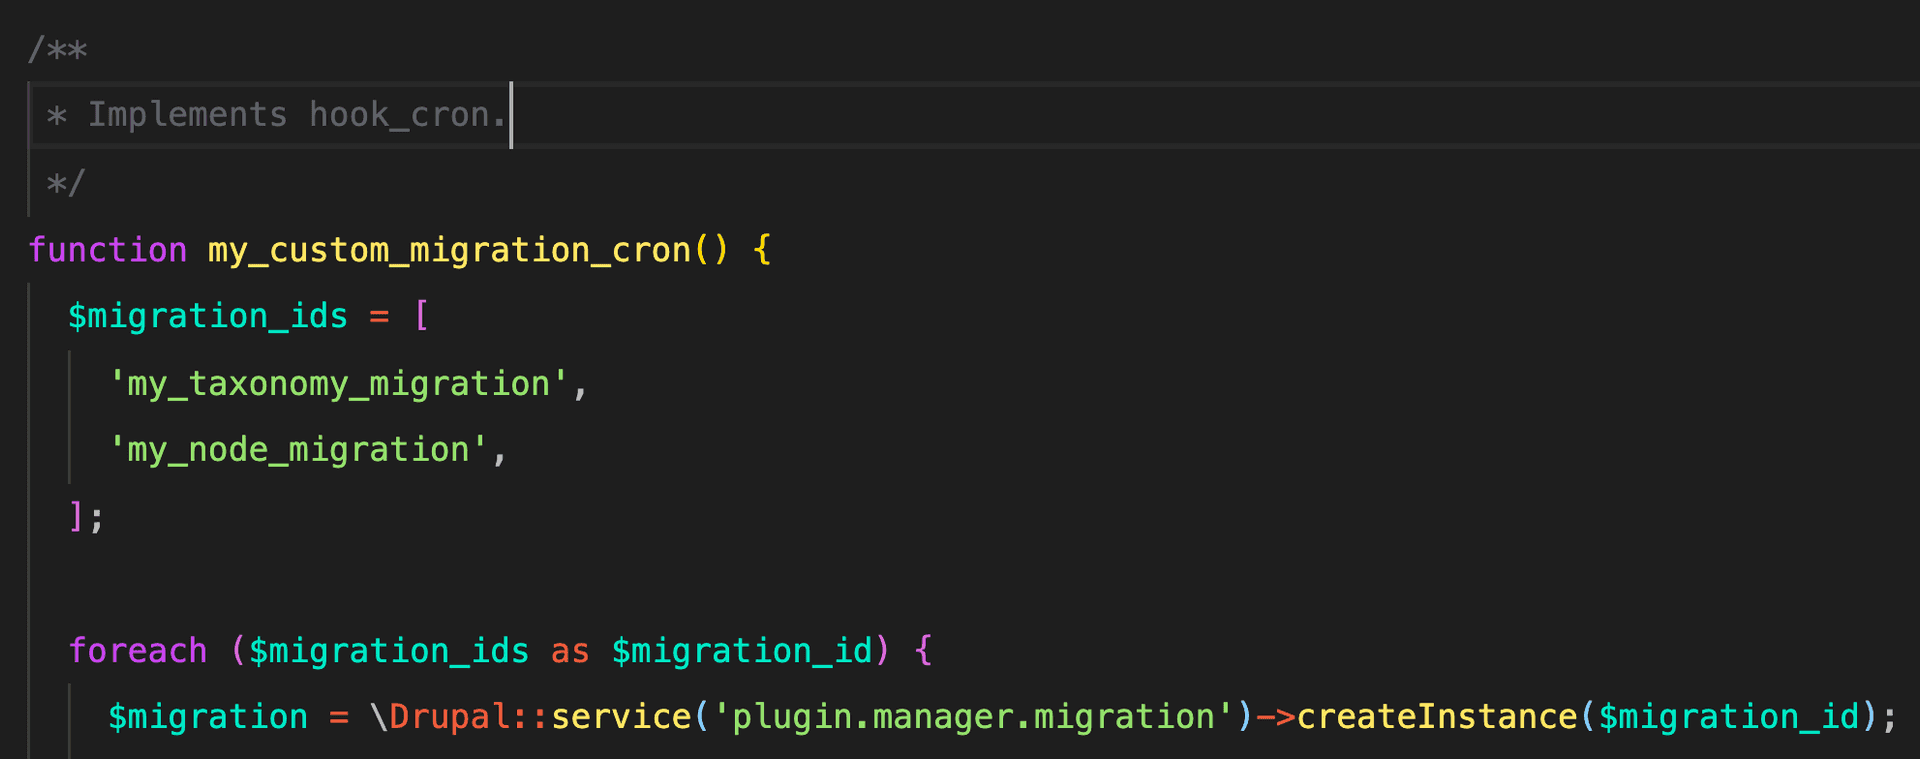
For situations that require these additional features, install and configure the Ultimate Cron module. This is a powerful tool that can be used to fine-tune any cron job to an exact time and frequency. The combination of Ultimate Cron and a migration cron module will cover the majority of use-cases. However, if custom code or reporting is necessary immediately before or after the migration runs, then a custom cron job may be needed. To build this, go to your custom migration module and create a hook_cron function in the .module file. This file will need to use the following classes:
use Drupal\migrate_tools\MigrateExecutable;
use Drupal\migrate\MigrateMessage;
use Drupal\migrate\Plugin\MigrationInterface;
Exactly how you configure this hook will depend on your situation. For each migration that you want to run on this cron job, you will need to follow these steps. First create an instance of the migration plugin by feeding the migration’s id into the Drupal plugin manager:
$migration = \Drupal::service('plugin.manager.migration')->createInstance($migration_id);
Next, check the status of the migration. Often if there is an error, the migration will be hung in the “importing” state. Running a migration with the “importing” status will result in an error. To get around this, check the status and if necessary reset it to idle:
// Reset migration status.
if ($migration->getStatus() !== MigrationInterface::STATUS_IDLE) {
  $migration->setStatus(MigrationInterface::STATUS_IDLE);
}
At this point there are a couple options. You can leave the migration as-is and run a straight import where the content that has already been migrated will remain the same and any new content will be imported. Or set the “update” flag so that new content will be imported and existing content will be updated to match the source: $migration->getIdMap()->prepareUpdate();
Additionally, you can set the “sync” flag to remove any migrated content that no longer exists in the source database (e.g. an event that was cancelled). Note that this option requires at least migrate_tools version 5.
$migration->set('syncSource', TRUE);
Finally, create the MigrationExecutable plugin and run the migration:
$executable = new MigrateExecutable($migration, new MigrateMessage());
$status = $executable->import();
The “status” variable indicates whether the migration ran into any errors. If the status is empty, then there was an error and we can send a report and make custom adjustments to help the migration fail gracefully. Otherwise the migration ran fine.
Once the cron hook is ready, go to the Ultimate Cron jobs page (/admin/config/system/cron/jobs) and click the “Discover jobs” button. Your custom cron job should show up in the table, and you can click the “edit” button to fine-tune the exact timing. For updating or syncing migrations with hundreds of entities, the page may timeout if you manually hit the “run” button for your custom cron job. However, Ultimate cron version 2.x adds the drush commands cron-list and cron-run. Use cron-list to find your cron job id. Then use cron-run with that id and the “--force” flag to manually run your cron job for testing.
The Migrate Cron Scheduler or Migrate Cron module route is much faster to set up and is the better choice for quick, simple migrations that need to be run on the hour. However, for bigger, more complicated migrations that require additional code either immediately before or after the migration, or need to be run in the middle of the night, the Ultimate Cron module combined with a custom cron job provides the most customization and flexibility.
